Easy Way to Line Back of Pantry Wall
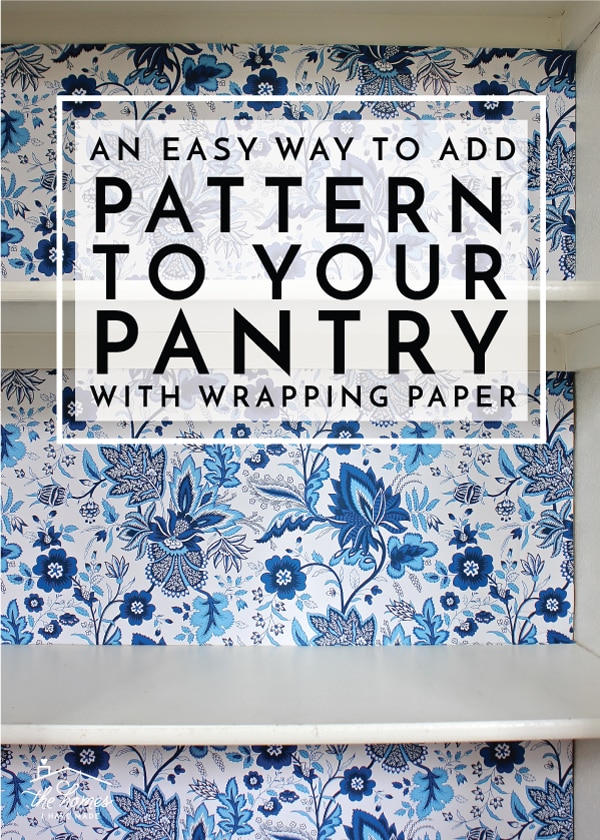
Last week, I shared with you a more "high end" way to add pattern (and protection) to the insides of cabinets and drawers. You'll remember in that post, I specifically chose to use high-quality, expensive shelf liner on a piece of furniture that we absolutely love and will move with us over and over…therefor justifying the cost of the pricier shelf liner. I realize investing in expensive papers is not always ideal or practical, so today I want to share a similar project but on the very other end of the cost spectrum. I recently added some fun pattern to our pantry using wrapping paper and a few other supplies. My method is really easy and really cheap, and can be adapted beyond the pantry to pretty much any cabinet or closet. This solution is ideal for those of you who don't want to invest in expensive paper or deal with peel-and-stick products but still want a fun pop of pretty when you open the door! Let me show you how I did it.
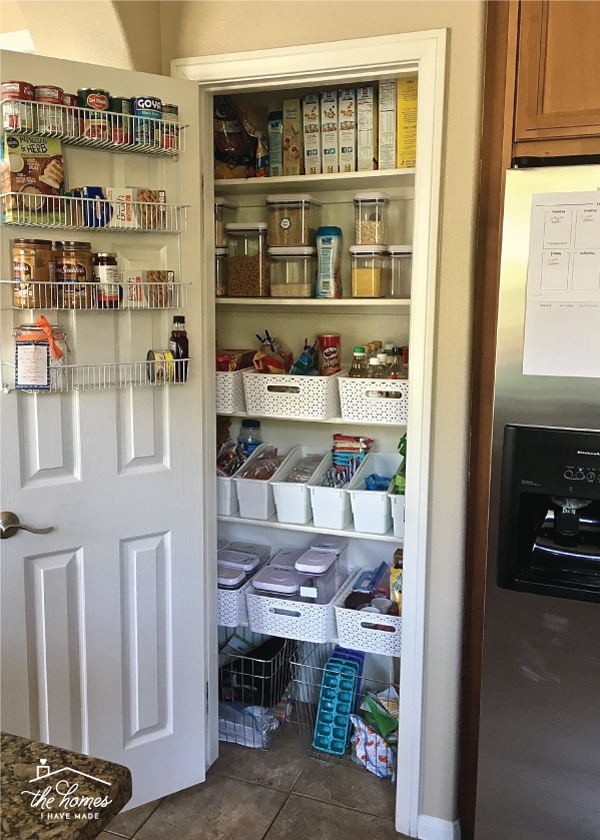
Below is a photo of our pantry before getting started with the papering project. You all might recall from my tried-and-true method for organizing any SPACE that I always like to get the organization systems in place before I start with any of the fun or pretty details. As such, most of my bins and baskets were in place (I'll share all the details with you soon) but I really wanted to add a fun detail that would make me smile every time I opened the pantry AND inspire me to keep it looking tidy and functioning well.
I always see gorgeous wrapping papers in HomeGoods/Marhsalls/TJMaxx and am constantly trying to figure out ways to use them around our house. When I saw this gorgeous blue and white floral paper one day, I knew I had the solution for our pantry!
Now…using wrapping paper instead of heavier duty shelf liner or wallpaper has its advantages such as the cost, availability, and length/size of rolls. But it can also have its disadvantages…namely it can be flimsy, tears easily, wrinkles, and can be difficult to work with. Because I've worked with wrapping paper a lot on projects like this, I was fully aware of these challenges. I also knew installing it in a way that didn't easily fall down was an often-exasperating process. From a distance, it may appear that I removed the shelves, papered the entire wall, and reinserted the shelves. But if you look closely, you can see instead that a wrapped piece of cardboard is fit into the back of each shelf…
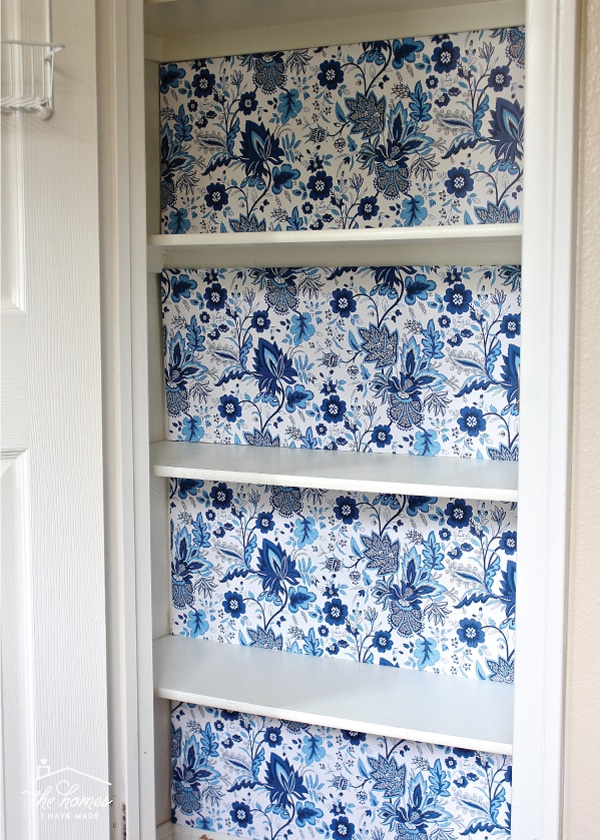
I chose to wrap wrapping paper around cardboard sheets and place them in the back of each shelf over securing the wallpaper directly to the wall for a few reasons: This method…
- Allows for consistent pattern placement.
- Allows for flexibility in measuring.
- Is much more secure to the wall and isn't prone to falling as it's bumped or touched.
- Allows the wrapping paper to have a smooth, flat and taught appearance (rather than a billowy appearance).
- Allows you to assemble and measure everything flat before having to install vertically.
- Requires no adhesives, tapes or tacks on the wall itself.
- Can quickly and easily be pulled out and wrapped over for a quick change!
Although a few more steps and supplies are involved than just cutting sheets of wrapping paper and taping them to the wall, I still find this a very quick and easy DIY you could easily tackle in an afternoon. Here is what you'll need: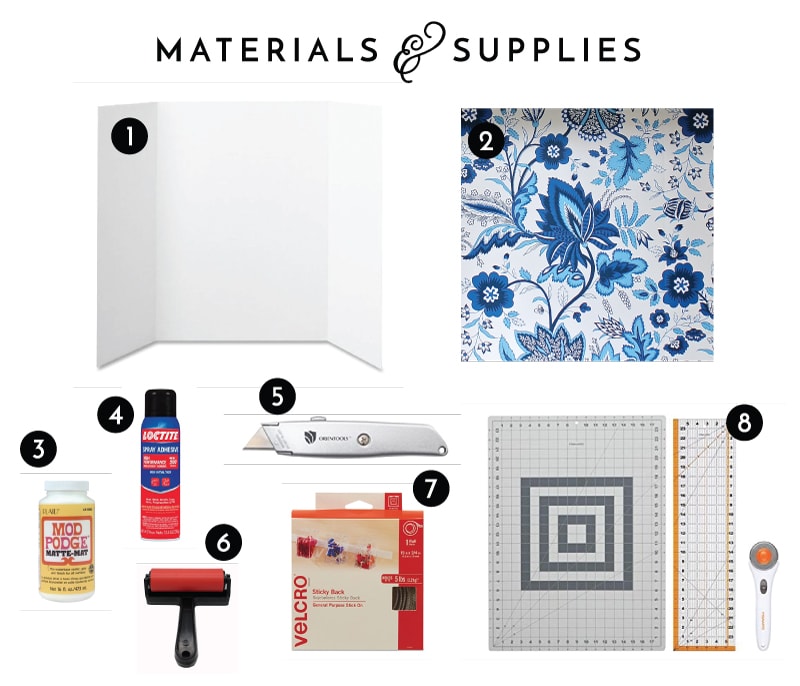
- Corrugated cardboard or foam core sheets – Because you are wrapping it in paper, what exactly you use here doesn't really matter. Foam core sheets, sheets of corrugated cardboard, or even old, large boxes can work. You just want the cardboard to be sturdy. I used two of these display boards from Staples.
- Wrapping paper in the pattern and color of your choice.
- Mod Podge
- Spray adhesive
- Utility knife
- Craft brayer
- Adhesive Velcro
- Rotary cutting set
Start by measuring your pantry wall. Measure both the horizontal dimension (from corner to corner), as well as the height of each shelf.
TIP! Do NOT assume each shelf is exactly the same height. You want the sheets to fit snug, so take accurate measurements of each shelf and jot them down on a piece of paper for reference.
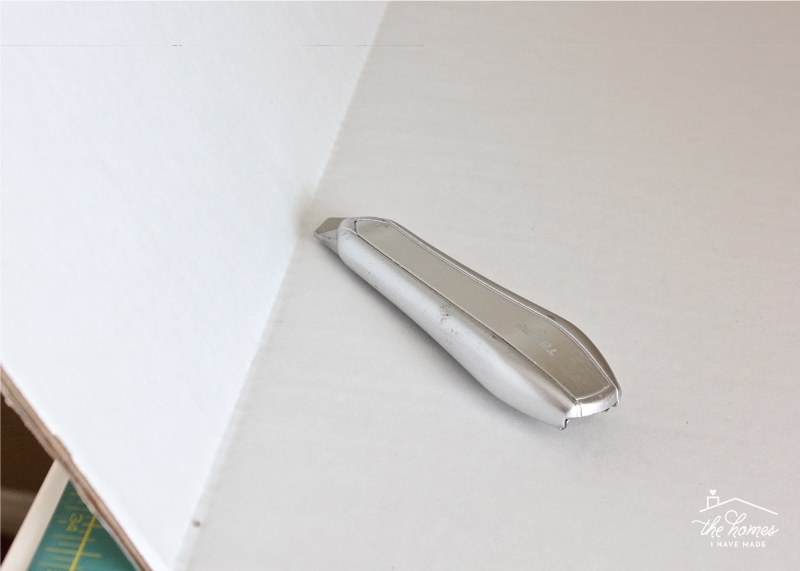
Next, transfer those measurements to sheets of cardboard using a long ruler as necessary. You may need to use some critical thinking and math skills to figure how how best to layout all the cuts you need from the cardboard you have. Our pantry happens to measure around 30″ wide, so I was able cut two display boards down into 12ish" strips to fit across each shelf. Once laid out, use a utility knife to cut the boards down to size.
Next, trim your wrapping paper down to size using the rotary cutter and ruler (a scissors can also be used but a rotary cutter is so much more precise!), adding an additional 3-4 inches to the height of each cut. Again, since I needed 30″ wide strips and the wrapping paper roll was 30″ wide (an advantage of using wrapping paper!), I just needed to cut the whole roll down into 16ish" tall strips.

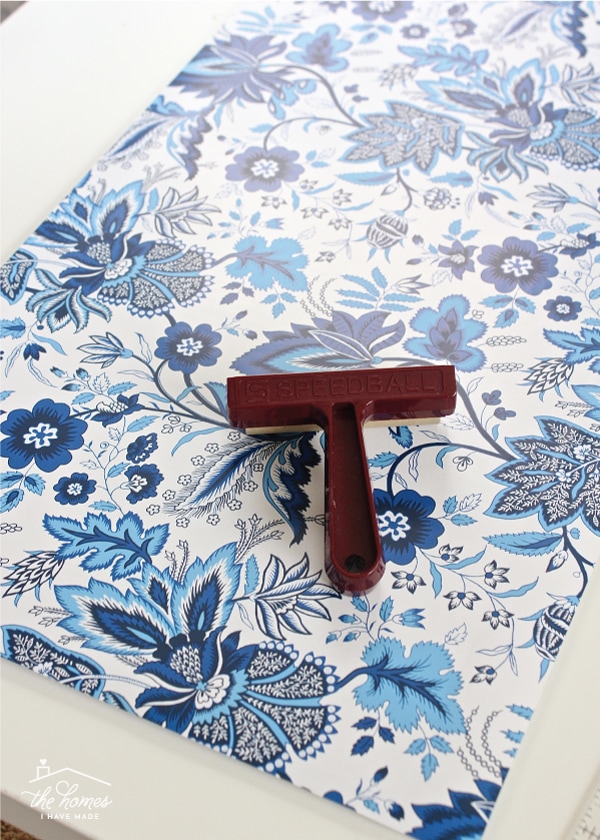
Next, apply spray adhesive to the front of each cardboard cut and place the wrapping paper, right side up, onto the front. Use a craft brayer or paper smoother to work out any bubbles and really adhere the wrapping paper to the board. If your wrapping paper has a pattern, make sure you place the paper in a way that continues the pattern to your liking.
TIP! Because wrapping paper is so lightweight, it will billow and appear loose if you hang it directly on the wall. By smoothing it down onto cardboard with spray adhesive, you get the appearance of wallpaper without the cost or the paste!
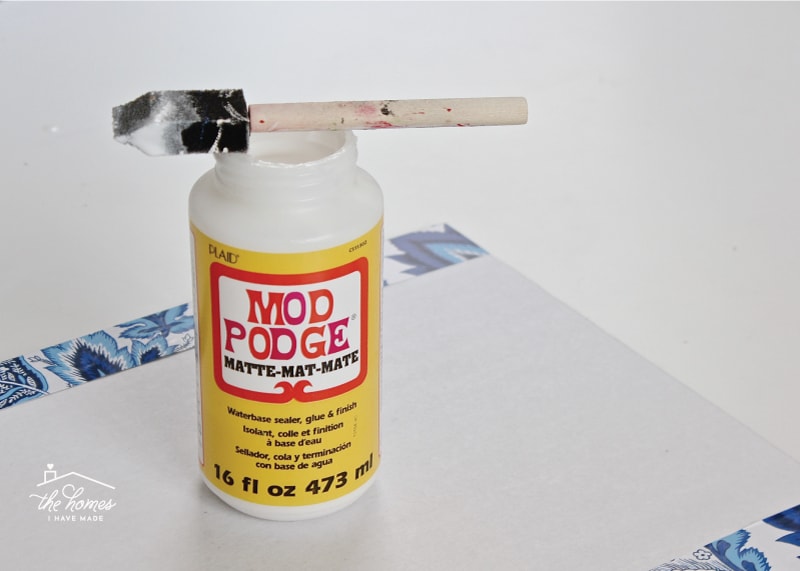
By cutting the cardboard to fit snuggly into the backs of your shelves, forcing them into place can take a little pressure. You don't want your paper to catch, rip or pull off during the installation process. As such, I found it best to fold over excess wrapping paper on the top and bottom of the cardboard cuts and glue it in place. This gives you a smooth surface along the top and bottom of each cut that can more easily slide right into your shelves.
TIP! I found that the spray adhesive wasn't strong enough to hold the paper tight along the back. Any glue would work here – Mod Podge was just what I had on hand!
Ideally, you measured the backs of your shelves accurate enough that your cardboard sheets will fit snug into the available space and stay without anything extra holding them in. If you didn't measure quite right (and your boards are too loose) or you just want them extra secure, add a small square of double-sided adhesive Velcro to each corner.
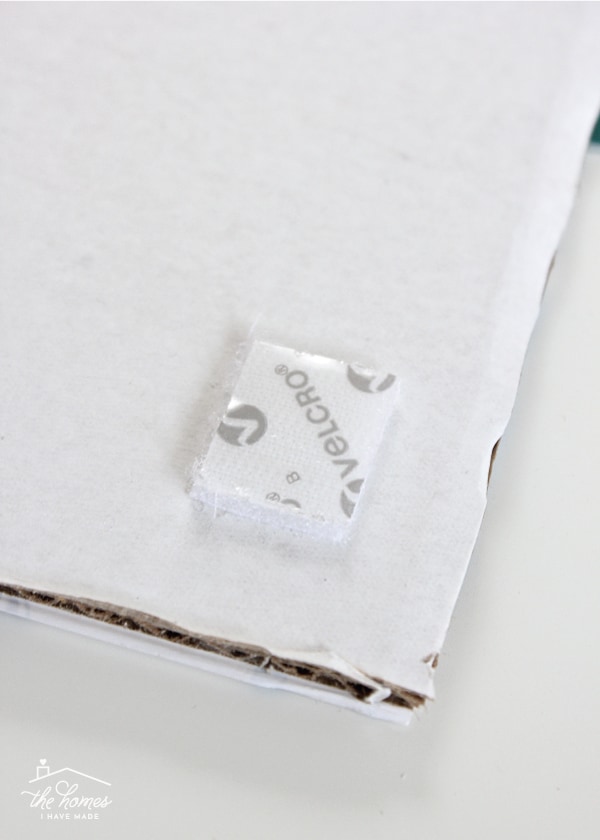
Once all of your cardboard sheets are papered and dry, all you have to do is slide them into the backs of your shelves. I measured my sheets pretty tight, so I found it best to lay in the top edge and then carefully and slowly push the bottom edge toward the back wall. If you find your cardboard is bending or warping as you slide it in, you may need to trim it down and reinstall.
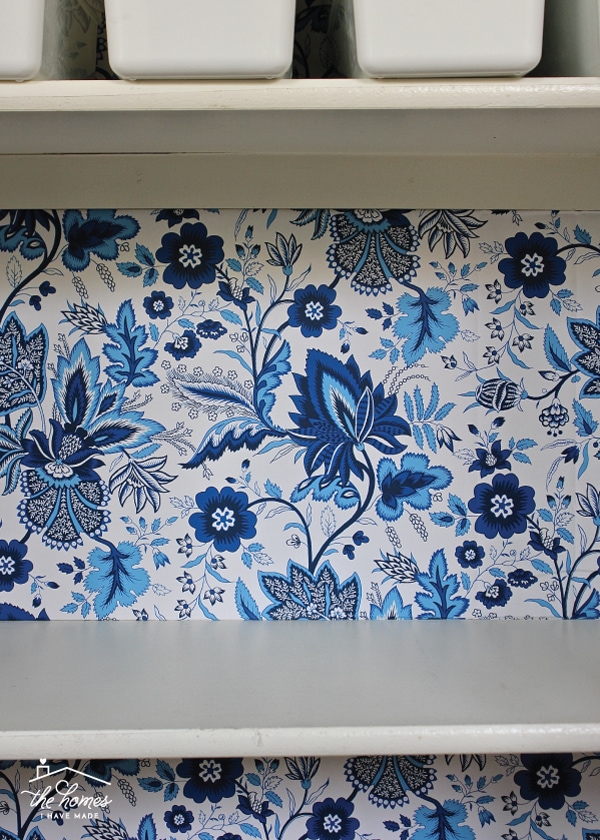
TIP! If you are trying to paper larger sections of wall, you may want to practice getting your cardboard in place before you paper it. Even though cuts should technically fit, if you have shelves, doors or trim in your way, it may be challenging to get it into place.
For example, I originally had the larger cut for the very top of my pantry as a single square (it goes all the way to the ceiling). But there was absolutely no way I could get it in there without completely bending the cardboard. By cutting it down into two halves, I could slide each one in without issue. Glad I tested it before I papered it!
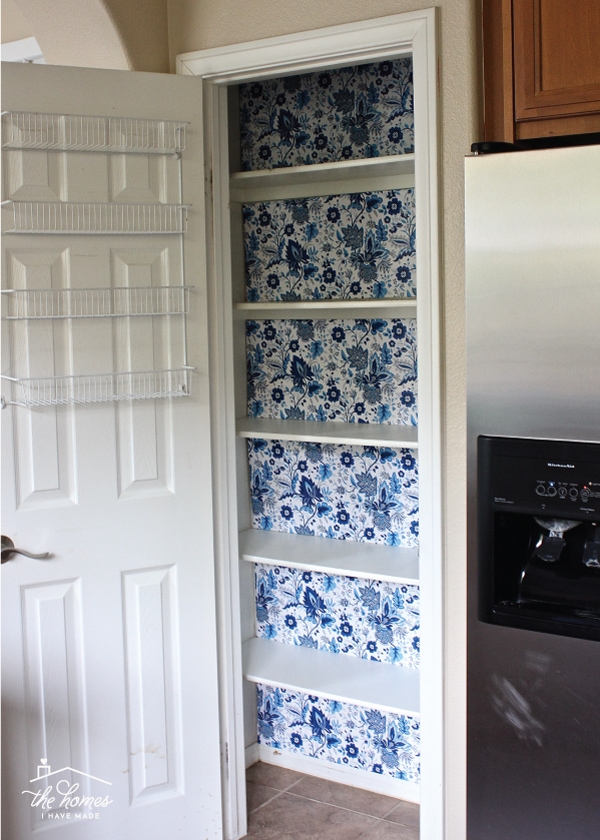
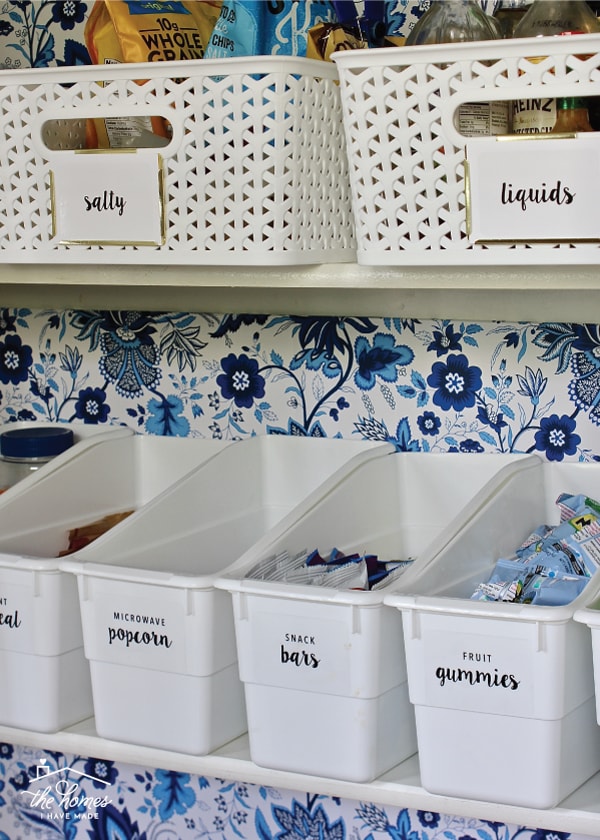
This project cost me about $20 and a single nap (how I measure tasks!), and the impact is so worth it! The crisp floral wallpaper with my all-white bins is such a bright and happy combination! This easy project definitely gave our pantry and wow factor in a totally doable and budget-friendly way!
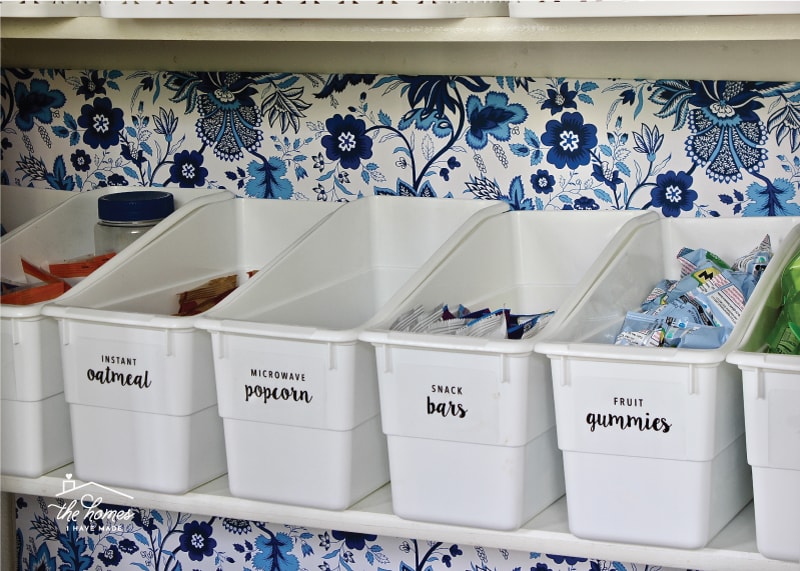
So…this project has a little bit of a funny story. I did this projectthe day Greg called me to talk about applying to school (see Tuesday's post if you have no idea what I'm talking about). I remember getting off the phone and thinking to myself…"Gee…I'm so glad I just turned our pantry into the most beautiful spot in our house." But you know what? I AM so glad I did! It's been such a bright and happy spot, day and day out, as we've been waiting and wondering what's going to happen over all these months. It really can be the small and easy things that bring you a little joy around the home!
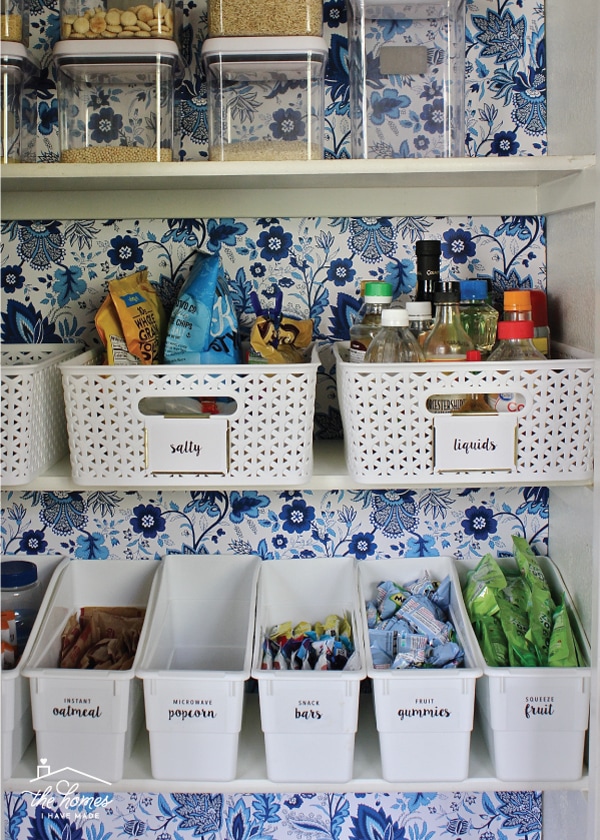
If you can believe it, I have one labeling project left in here and then I can show you the whole thing! (I told you I didn't really do a thing since that day Greg called…even finish the projects I was in the middle of!). I'm gonna wrap it up this weekend, as well as the kitchen backsplash, and hope to share them both with you soon. I think you guys are gonna love some of the unique storage and labeling solutions I used this time around!
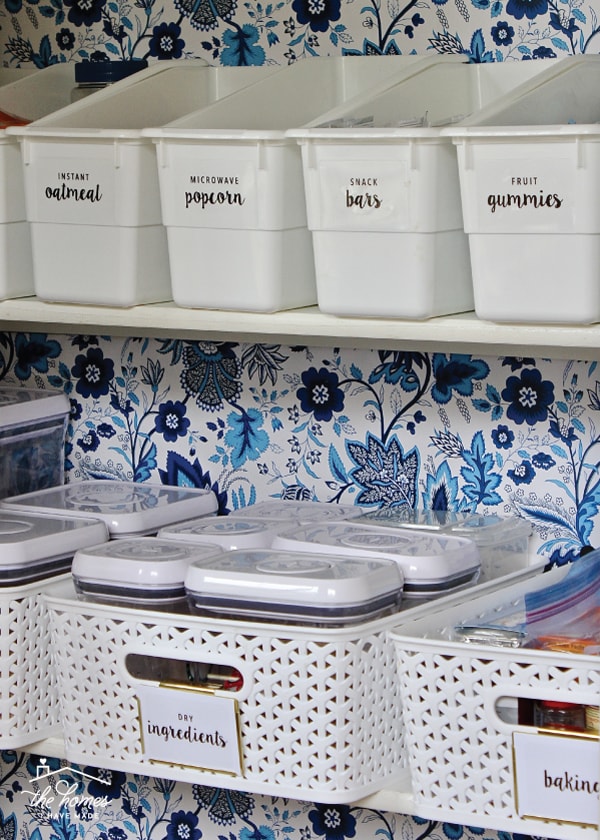
Thank you all so much for the virtual love and understanding on Tuesdays posts! I knew you all would understand, but it was nice to get it out there…and get moving forward again…all the same! See you back here next week!
See You Soon!
Megan
Source: https://thehomesihavemade.com/add-pattern-to-your-pantry-with-wrapping-paper/
0 Response to "Easy Way to Line Back of Pantry Wall"
Post a Comment